

Still moving ahead with the plan to get the floors done the kitchen was next on the list. Ideally we wanted hardwoods throughout the kitchen as well. It is a fairly small downstairs so the idea was to make it look as large as possible. Unfortunately when we removed the linoleum the hardwoods stopped suddenly. We had two options lay new wood down or tile. I am very comfortable with tiling, so to save money and time we went that route.

To add visual interest it was decided that we would use two tones and after bringing home a few dozen sample tiles, we went with a lighter and darker tan to tie in with the dark brown we had just finished staining the floor with.
The first step was to cover the area with cement board. We simply cut it down to size and screwed it to the joists.


Next was the fun part, dry fitting the tiles (several times) to figure out which layout we liked the best.
The top two choices:
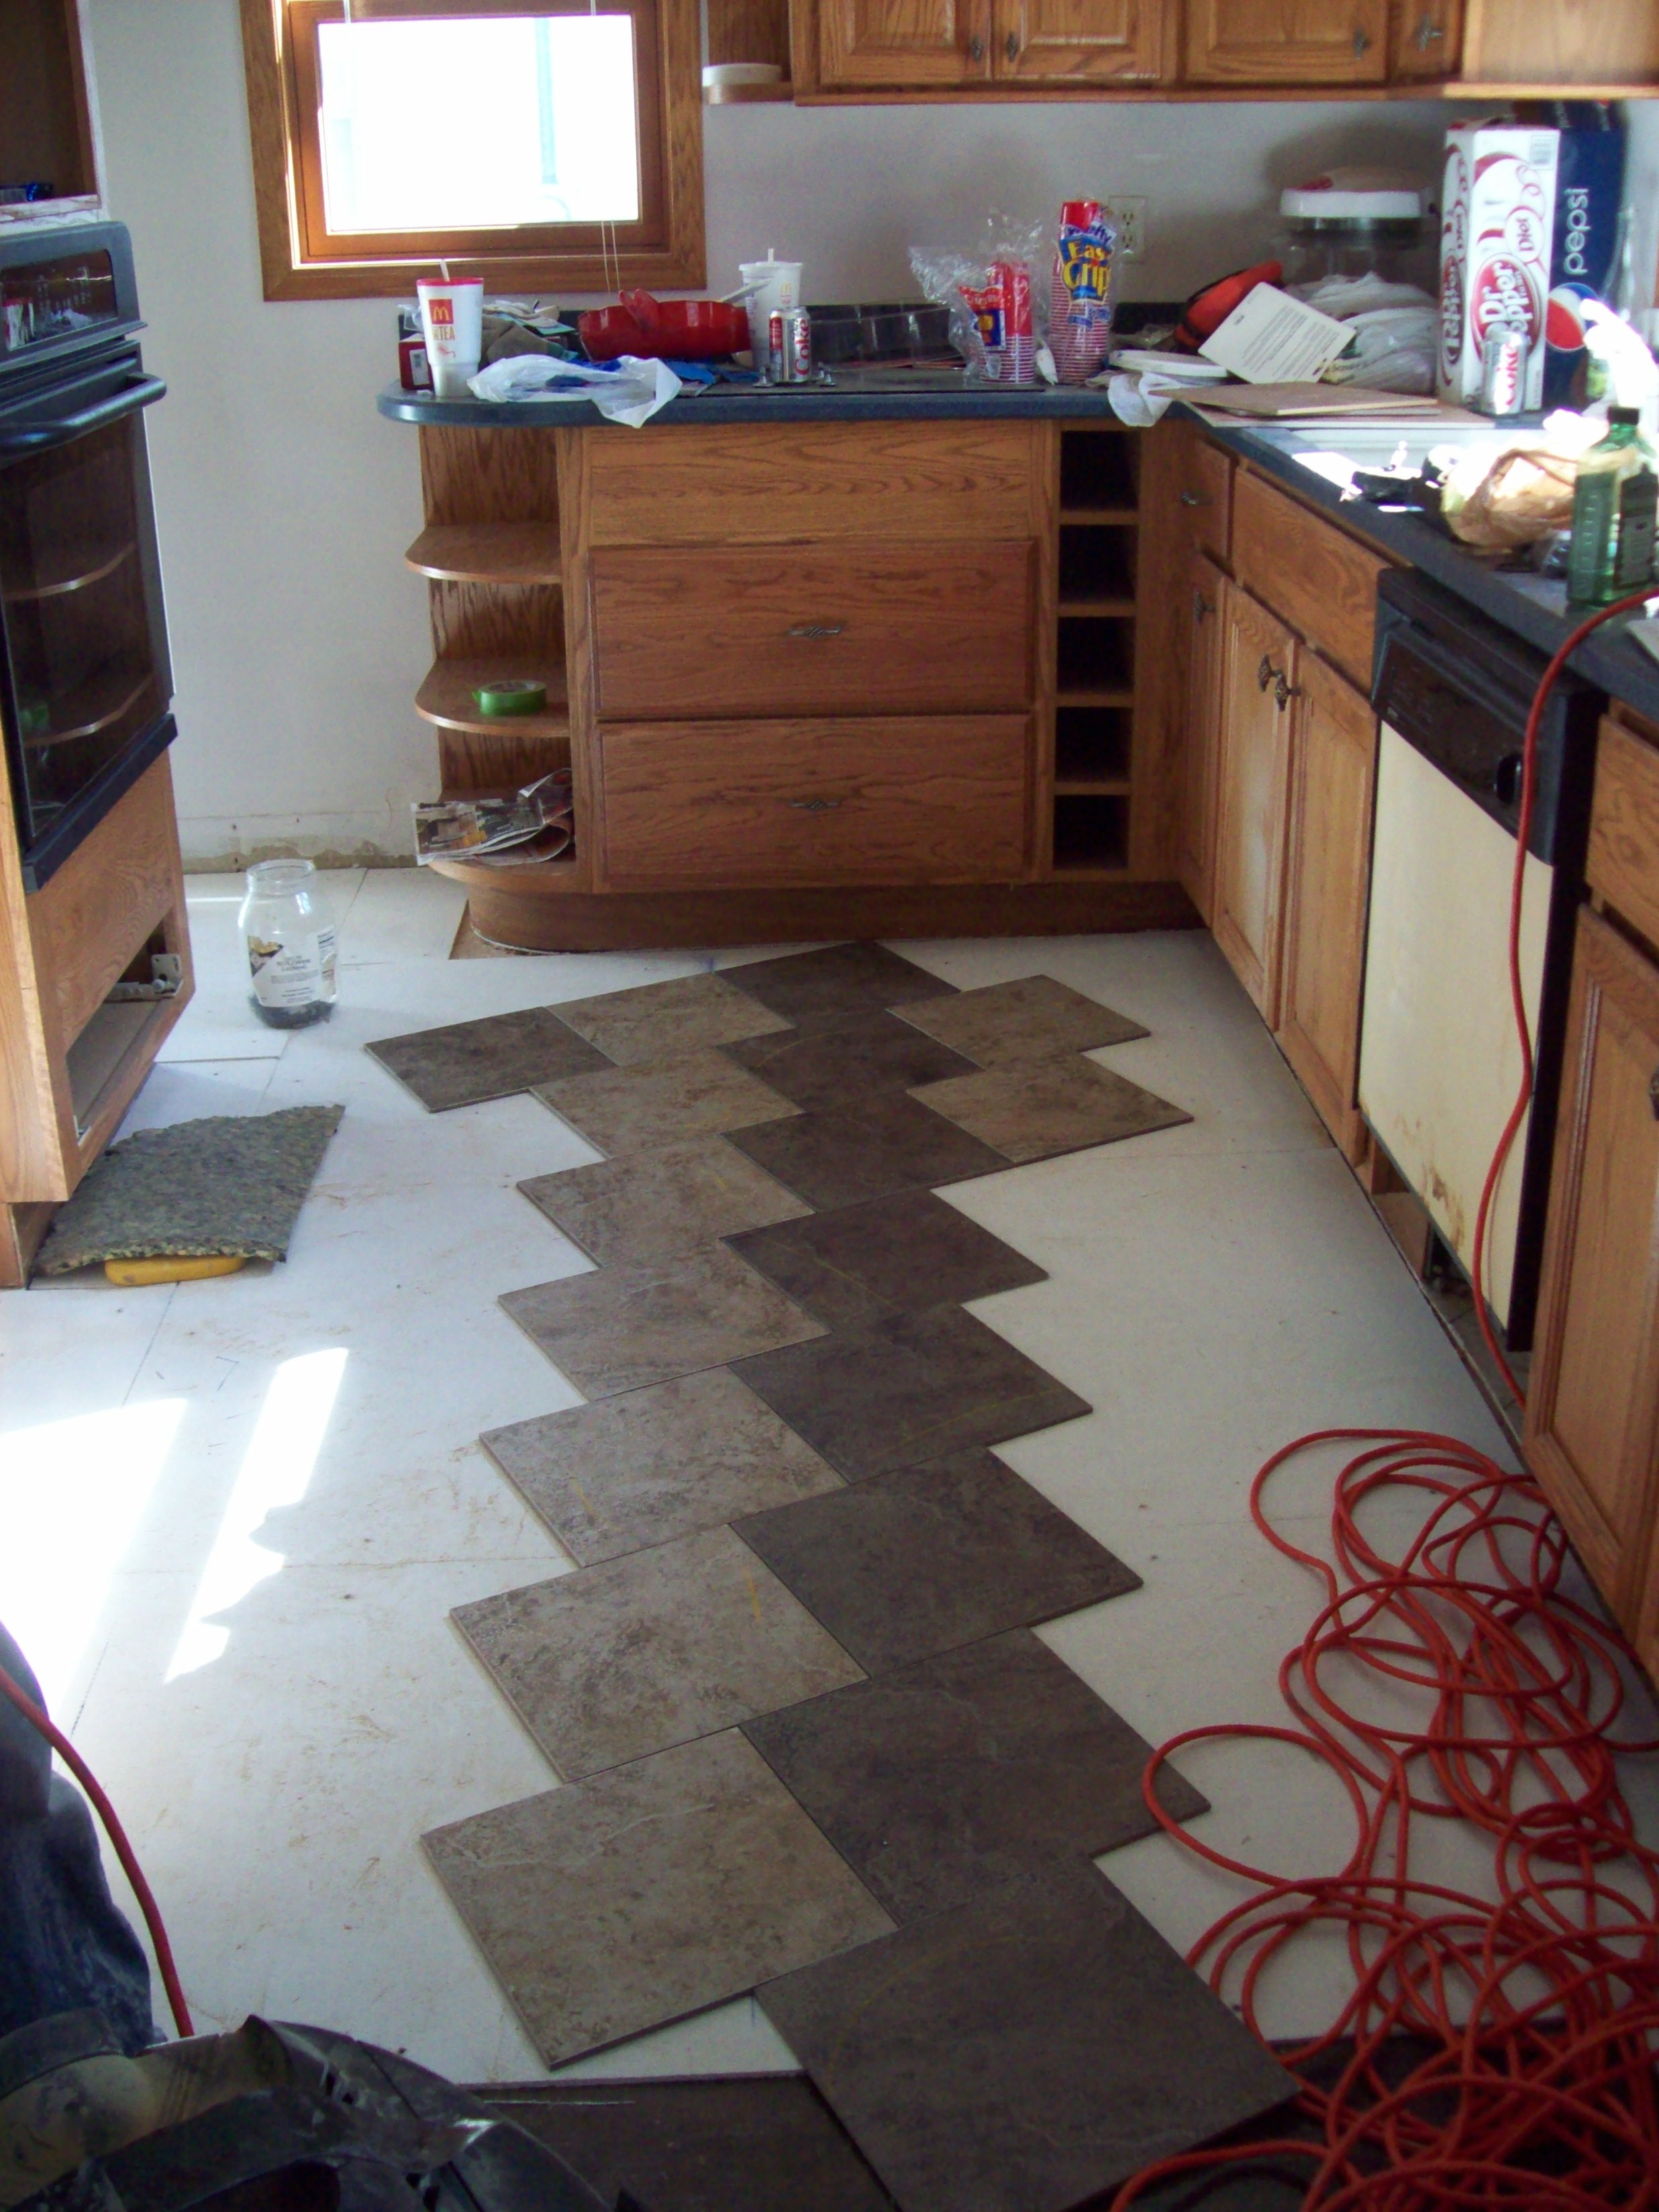

Personally I liked the one set at an angle, until I realized how much cutting it would involve. To save time we went with the second picture.
The rest was simply tiling. Mix the mortar, add some to the floor, use the trowel to smooth it out, lay the tile give it a wiggle and move on to the next. We decided against using spacers for personal preference, neither Wolfy or I like large grout line.


Next the floor needed to be cleaned.


After waiting 24 hours we grouted (sorry no pictures of that process). I then put Wolfy to work cleaning the haze off.


And there you have it, the kitchen’s new floors. Slowly progress is being made to turn it into our house.


Pingback: Grouting | Our Wolf Den
Pingback: No More Dripping… | Our Wolf Den
Pingback: It is time to change the strainer | Our Wolf Den
Pingback: “That’s me in the Spotlight” | Our Wolf Den
Pingback: New Blinds in the Kitchen | Our Wolf Den
Pingback: Replacing the Overhead Florescent Light in the Kitchen | Our Wolf Den
Pingback: Concert Countertops | Our Wolf Den