The same day we replaced the faucet in the kitchen we also replaced the strainer.

The holes in the old strainer were not lined up so we were having issues with food getting caught and stopping up the drain. Also over time the rubber seal had started to degrade. It turned into a sort of tacky, tar like goo.

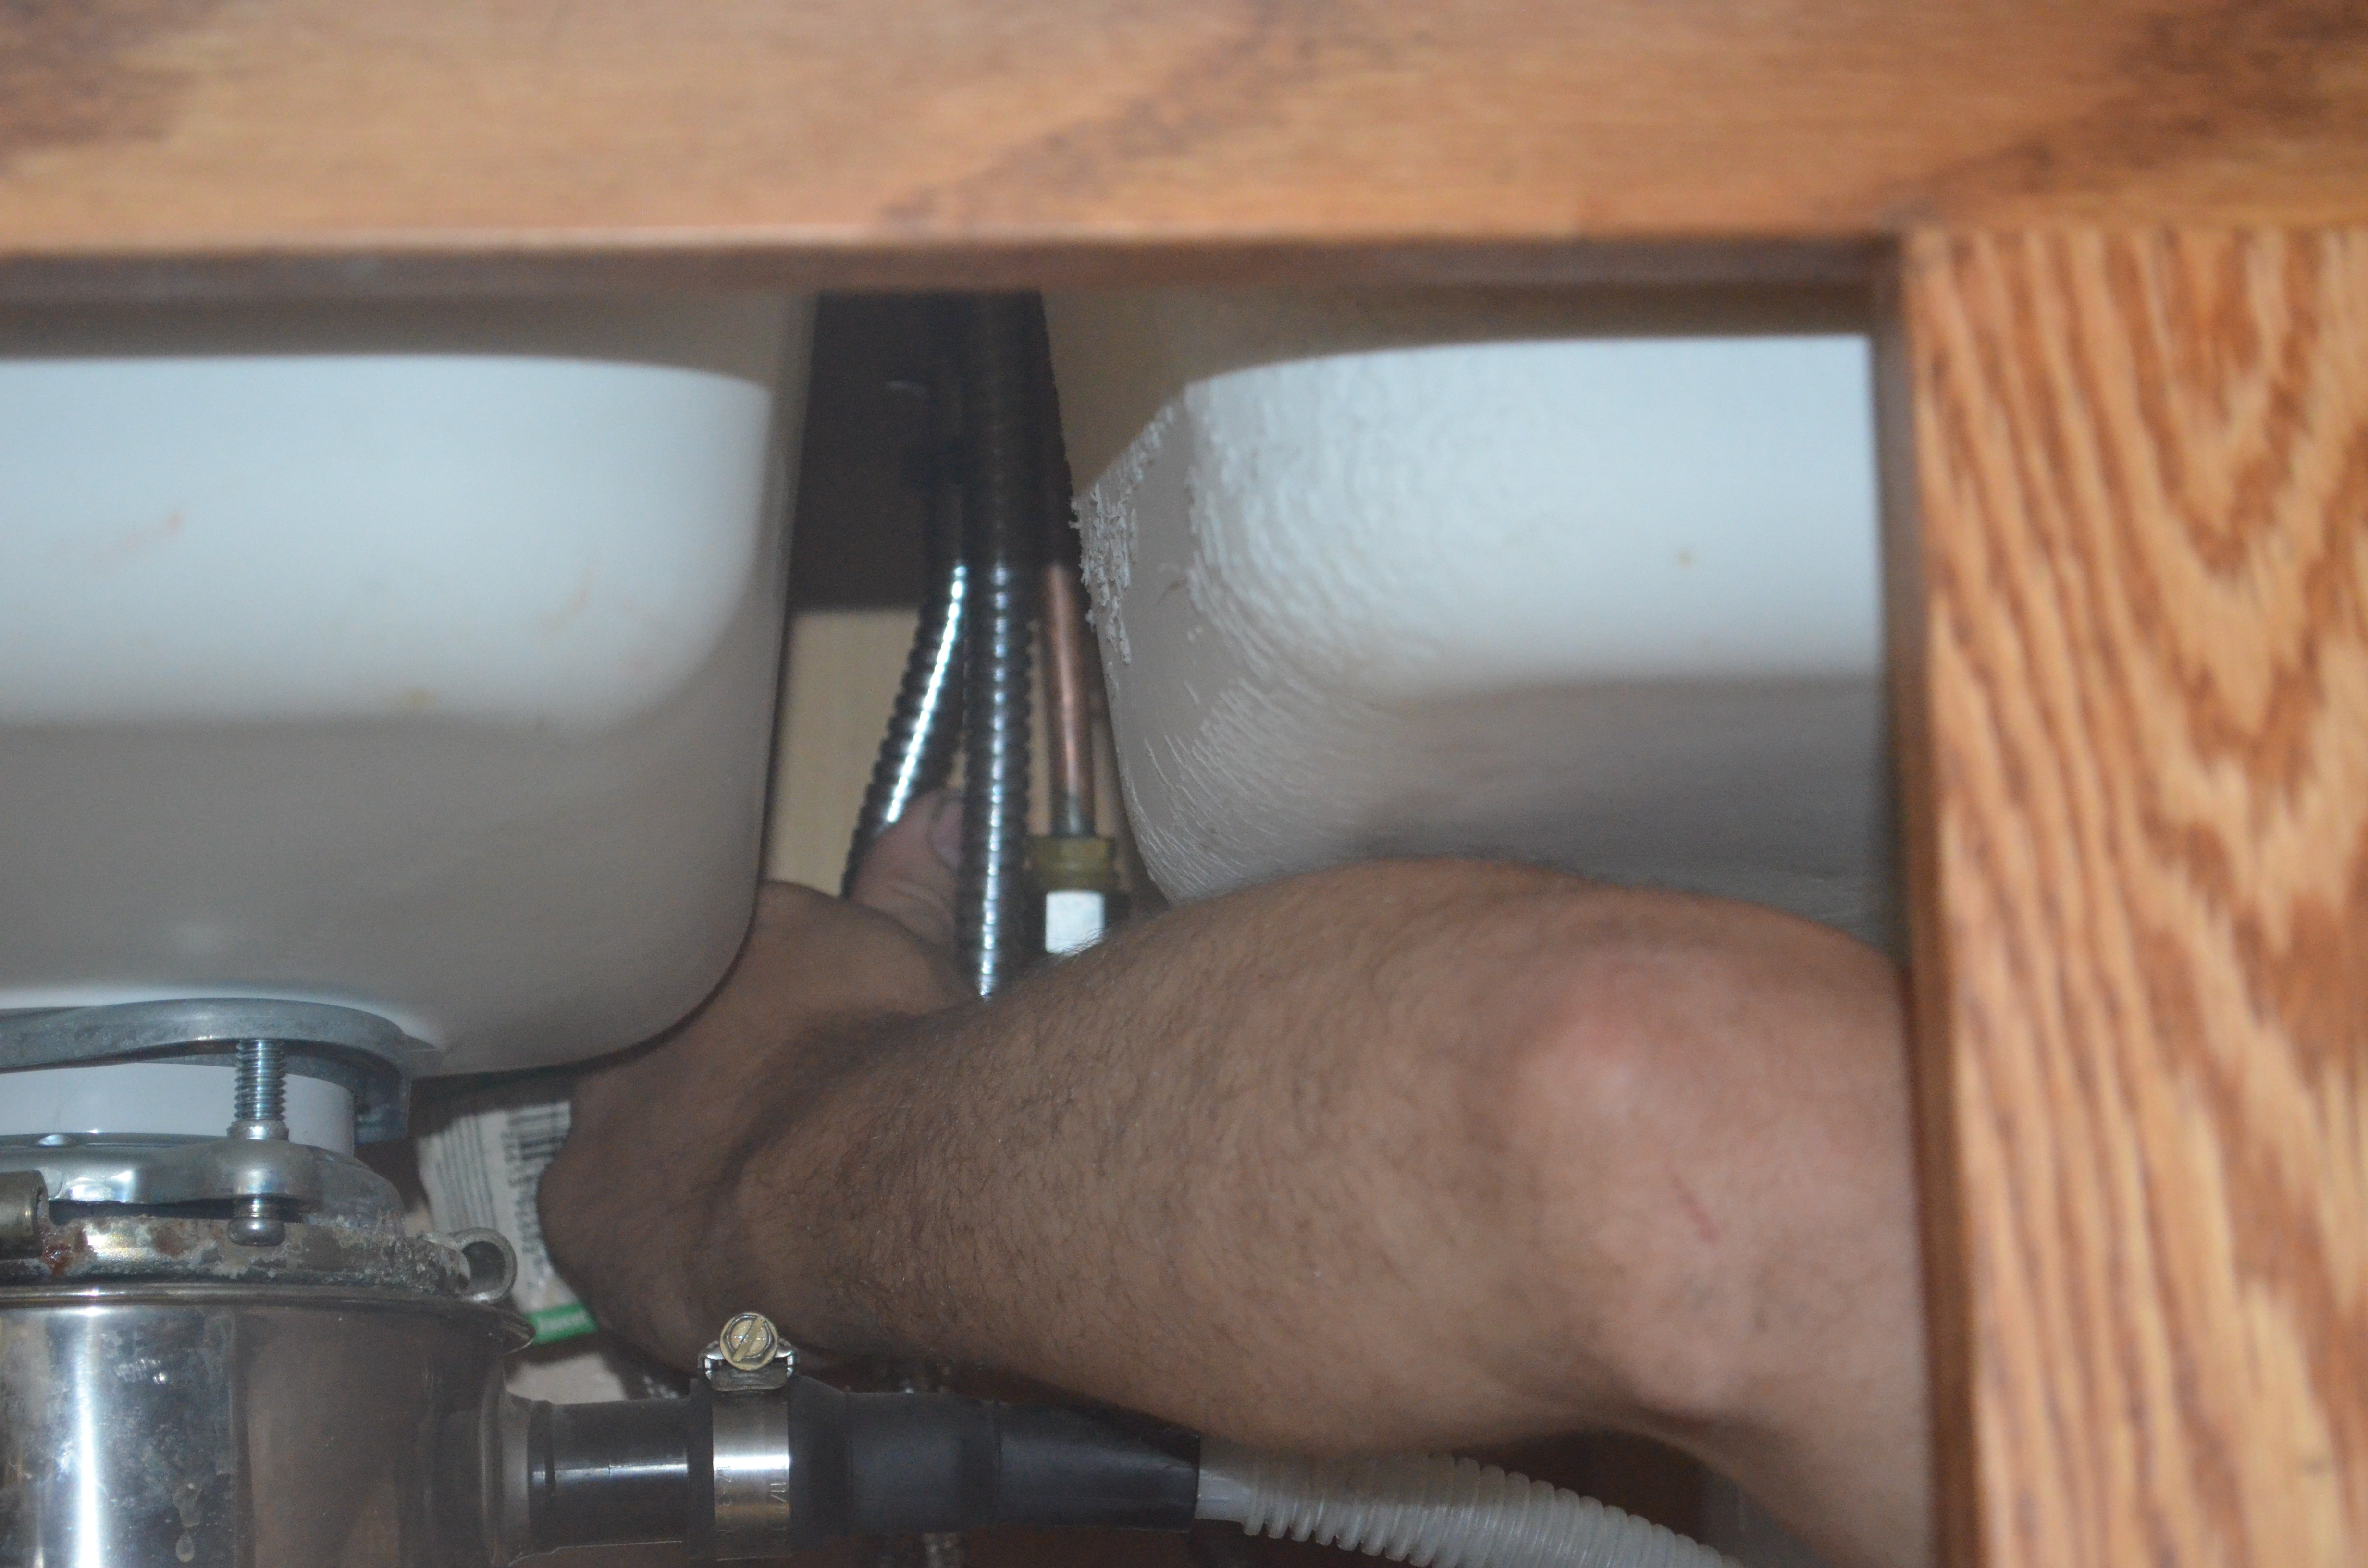
The first step is to remove the drain from the strainer.


Remember to have a bucket handy. There will be some water in the drain. Eww… look at the food residue. According to Wolfy, it wasn’t that bad. Evidently he has seen a lot worse during his time as a plumber.

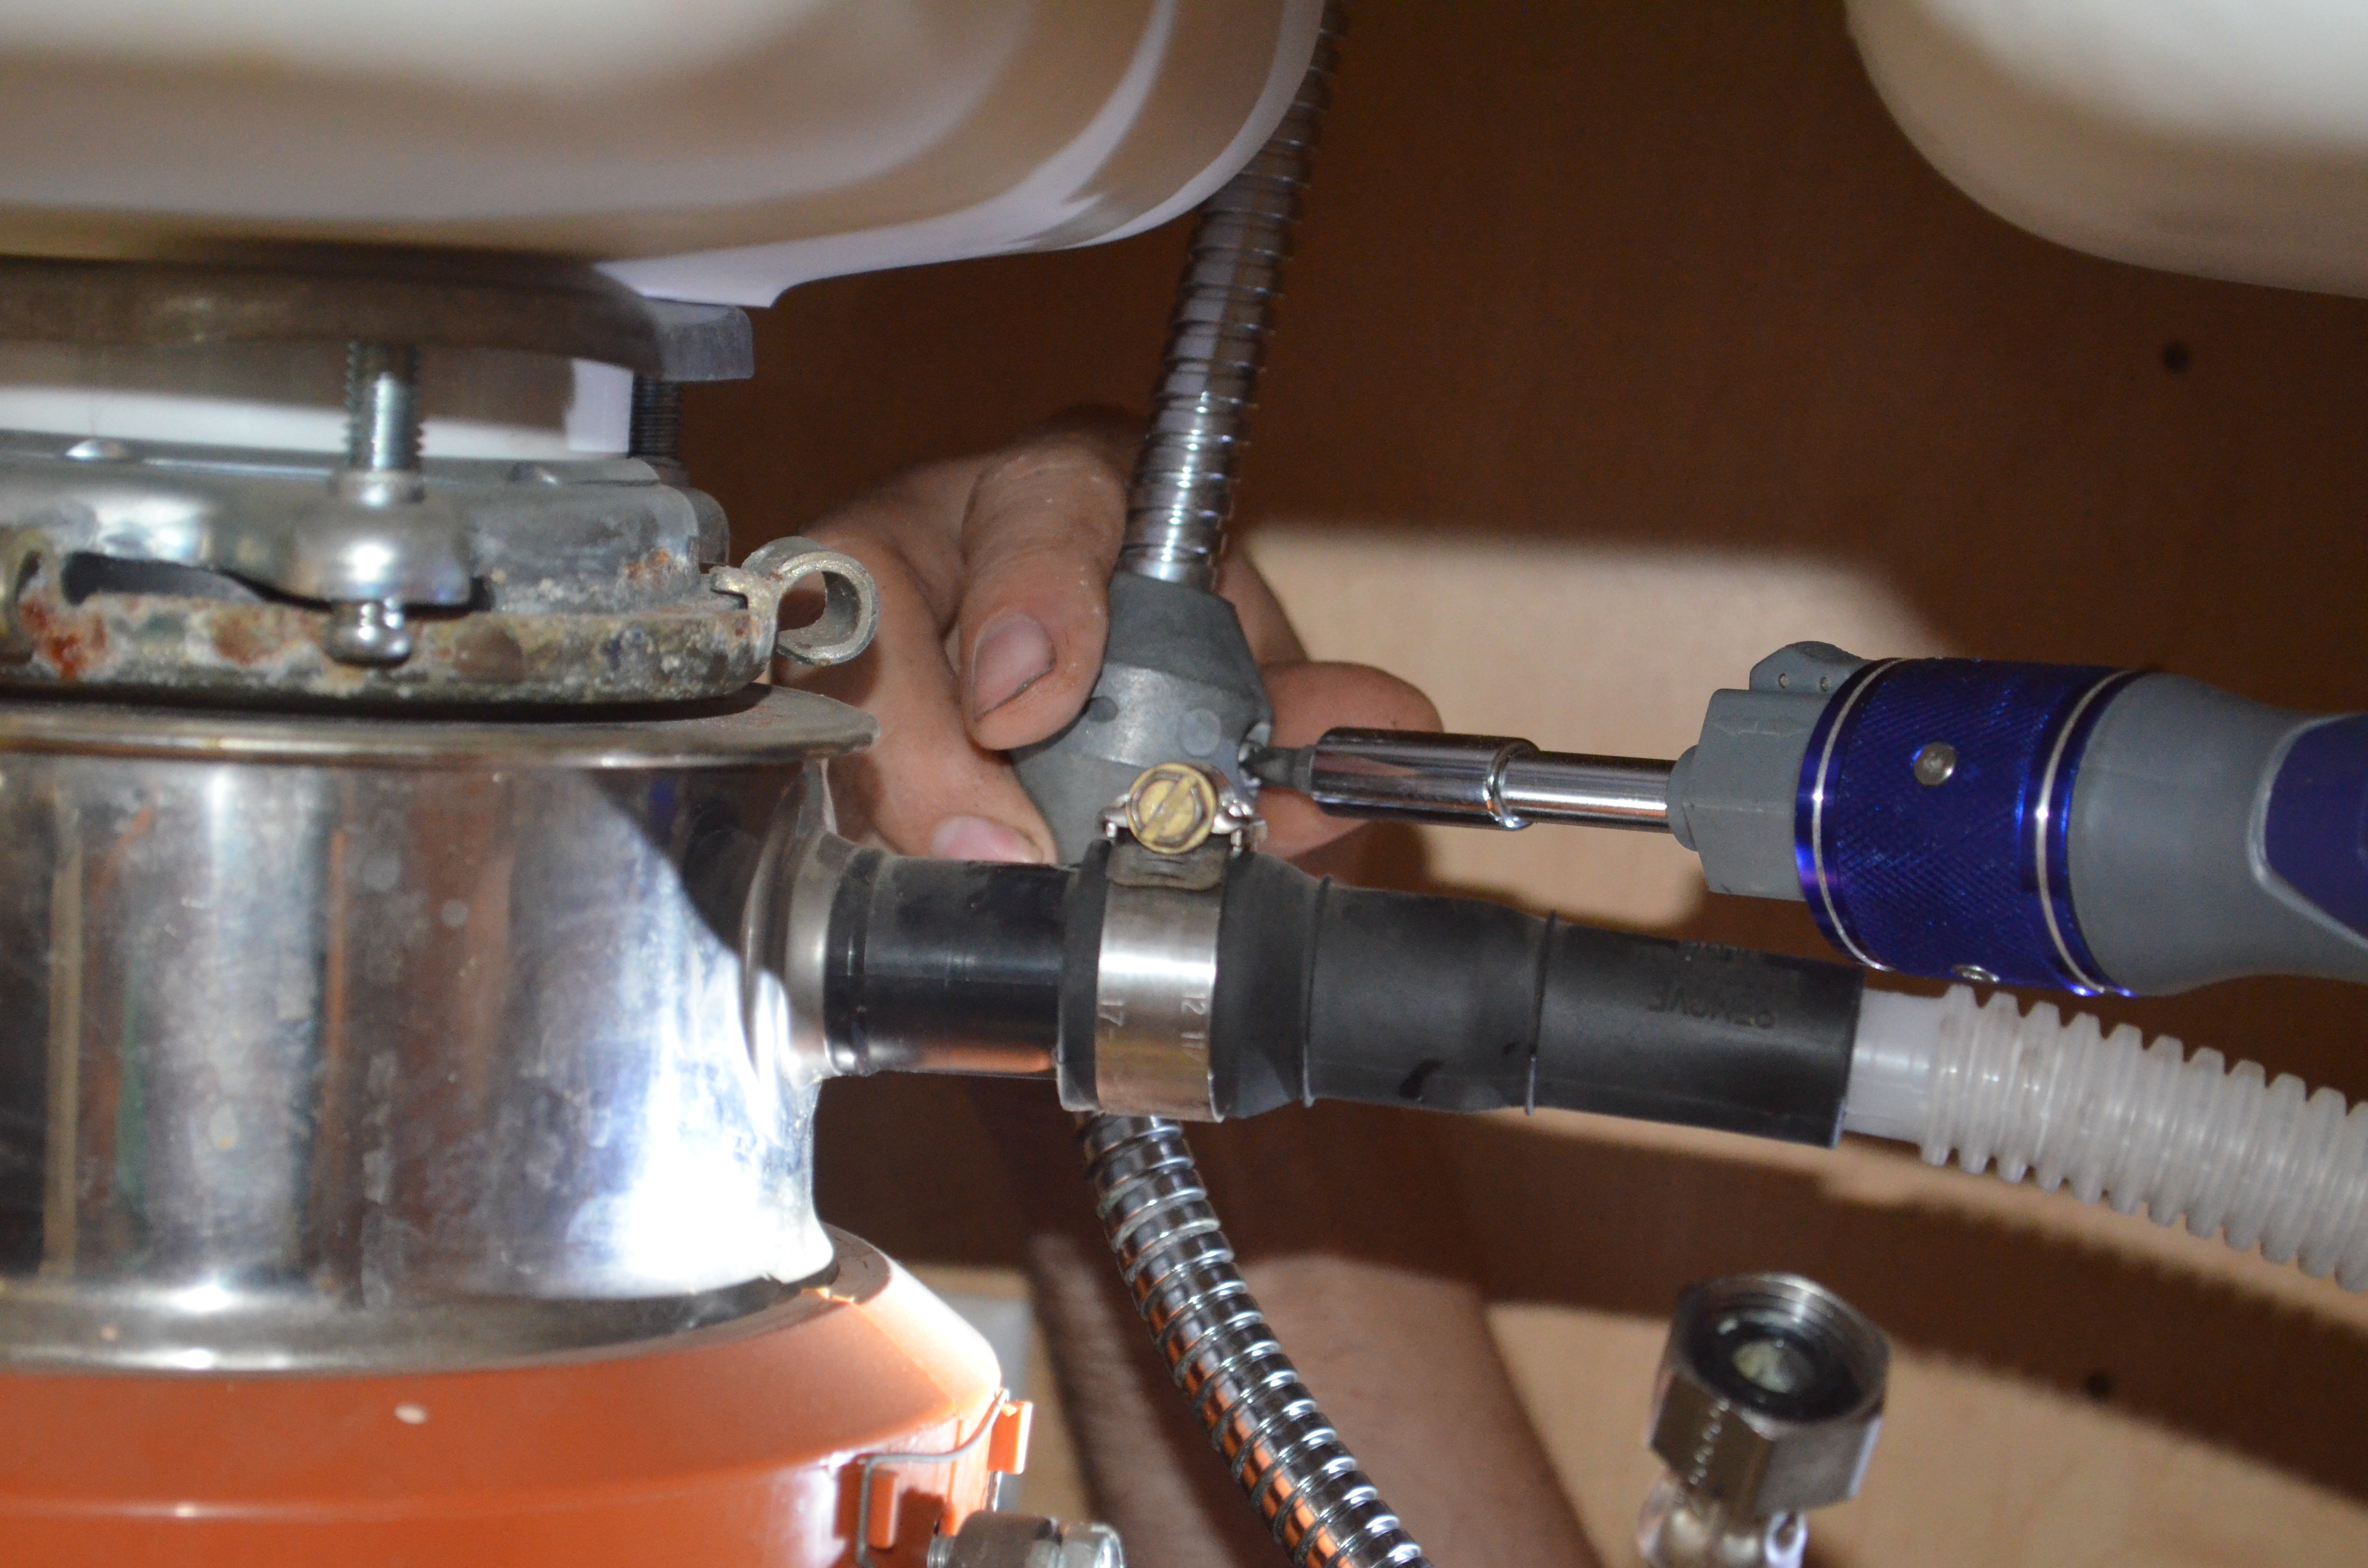
Now that the strainer is free from the drain, it should pop out.


Except that our strainer was not installed with the standard plumber’s putty. Instead, it was siliconed in.

A little bit of force and it was out. The next step is to make sure the area where the new strainer will sit is clean. This was a little harder due to the use of silicone. I needed to use a box knife to clean all the dried silicone from the sink base.

The next step was to make a new snake with plumbers putty.


Then, apply the plumber’s putty snake to the back of the strainer and press lightly.

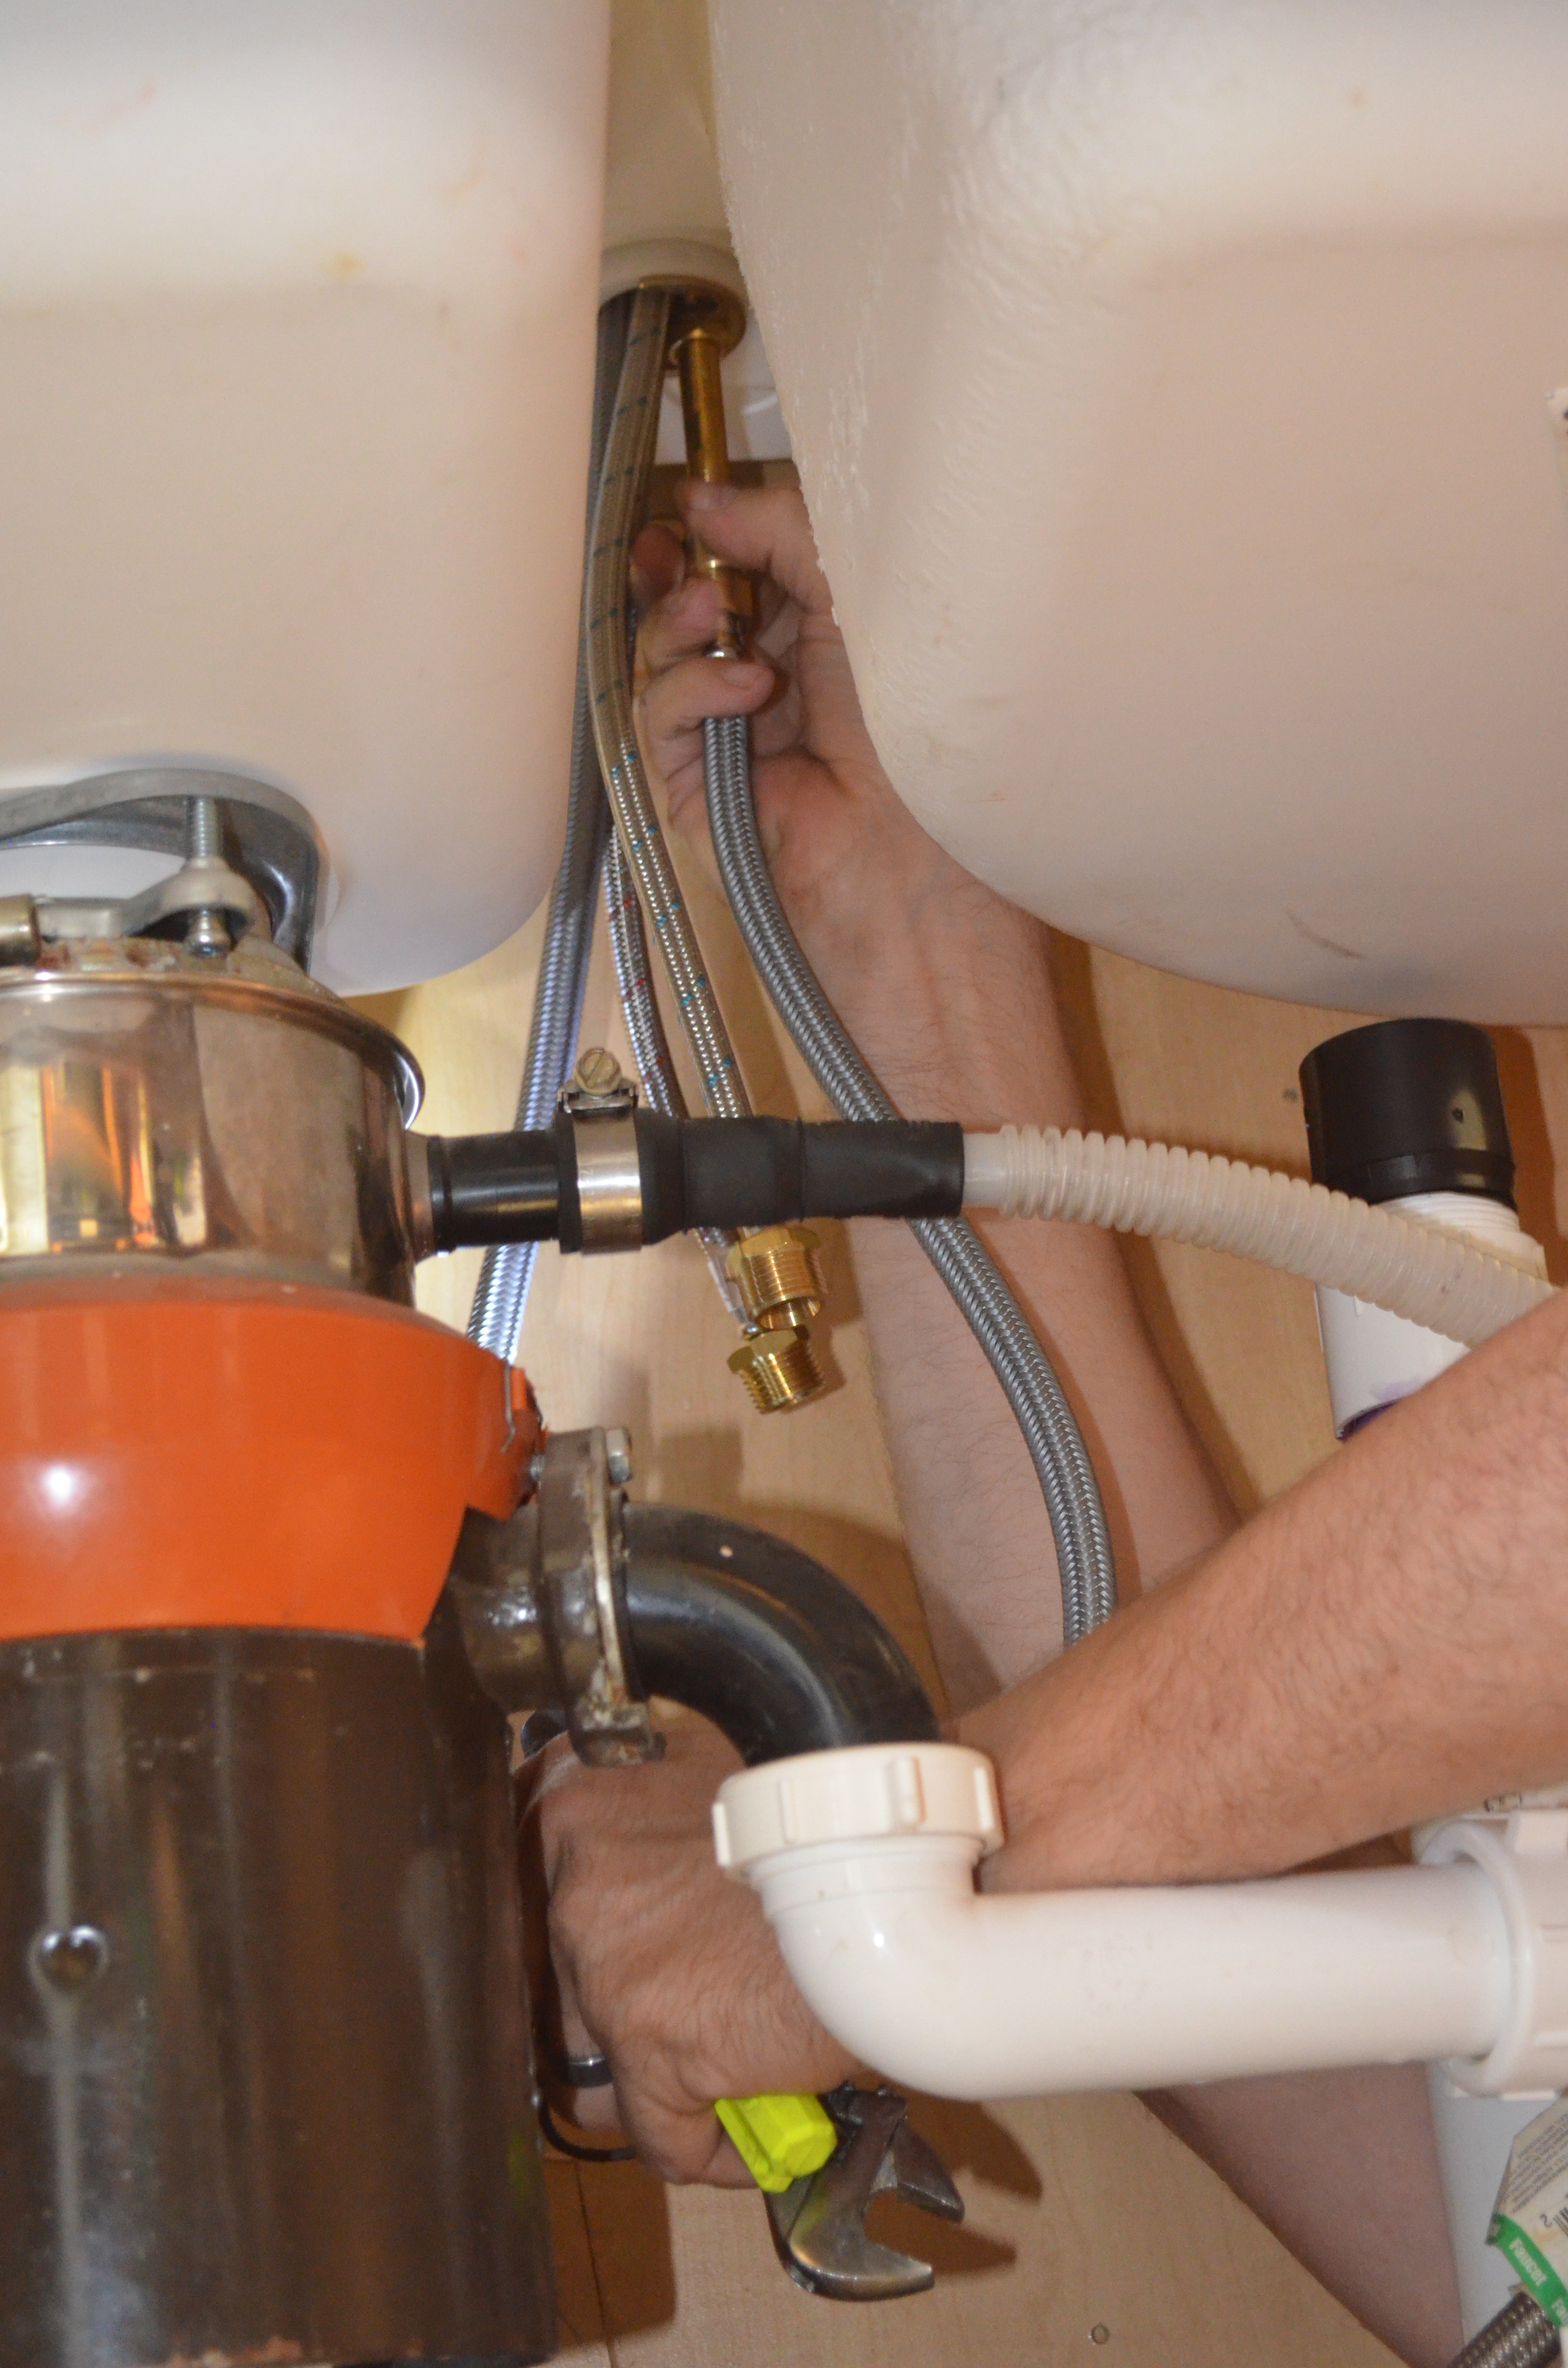
Put the strainer in the sink and tighten the nut below.

I’m using the wrong tool here but you will need someone to hold the strainer with a pair of needle nose pliers. Basically you are making sure the three holes stay lined up.

As it is being tightened, the putty will squish up around the edges.

Next step is to reattach the drain.


The last step is the water test. You need to fill the sink up three times – yes three times and check for any leaks. Don’t feel bad. It isn’t that abnormal to have to retighten or even take the drain off (or even the strainer) due to a leak. Drainage is the toughest thing, according to Wolfy.

After a few days you can clean off the excess plumber’s putty. And there you have it, a new sink strainer. Doesn’t it look much better??

Previous Kitchen Posts: